

Renovation Lessons: One Year Later
/ It's been almost a year since we turned our mostly unfinished basement into a truly livable space. This was the first major home improvement project we've tackled since buying our home, and it's been interesting to reflect on what we learned, now that we've had almost a year to live in the finished space.
What We're Glad We Did
Hire a contractor. For simple things, we might try doing it ourselves (like the new front stoop we hope to build next spring!). But our basement renovation project involved some serious plumbing, master carpentry, and HVAC work -- all things outside of our expertise. We chose a contractor who came highly recommended, and we had a wonderful experience working with him and his team -- we trusted they would get the job done right, and they did.

Take the time to plan. We worked with our contractor to devise several possible plans before we committed to one. In fact, he probably walked through the space with us four or five times before we made any final decisions. We'd lived in the house for a year and a half by the time the renovation started, which meant we had a really strong sense of how we wanted to use the space. If we'd jumped into something quickly, after only living here a month or so, it might have looked really different.
Choose a home renovation project that will increase the home's value. We added finished square footage, created a fully usable second bathroom, increased built-in storage space, and transformed the small basement room that already existed into a legitimate third bedroom. Not only will we benefit from these improvements while we live here, but they will increase the value of our home for potential buyers whenever we go to sell. (Because this was all below-grade, we know our upgrades won't have quite the same return on investment as above-grade improvements, but this is what we had to work with!)

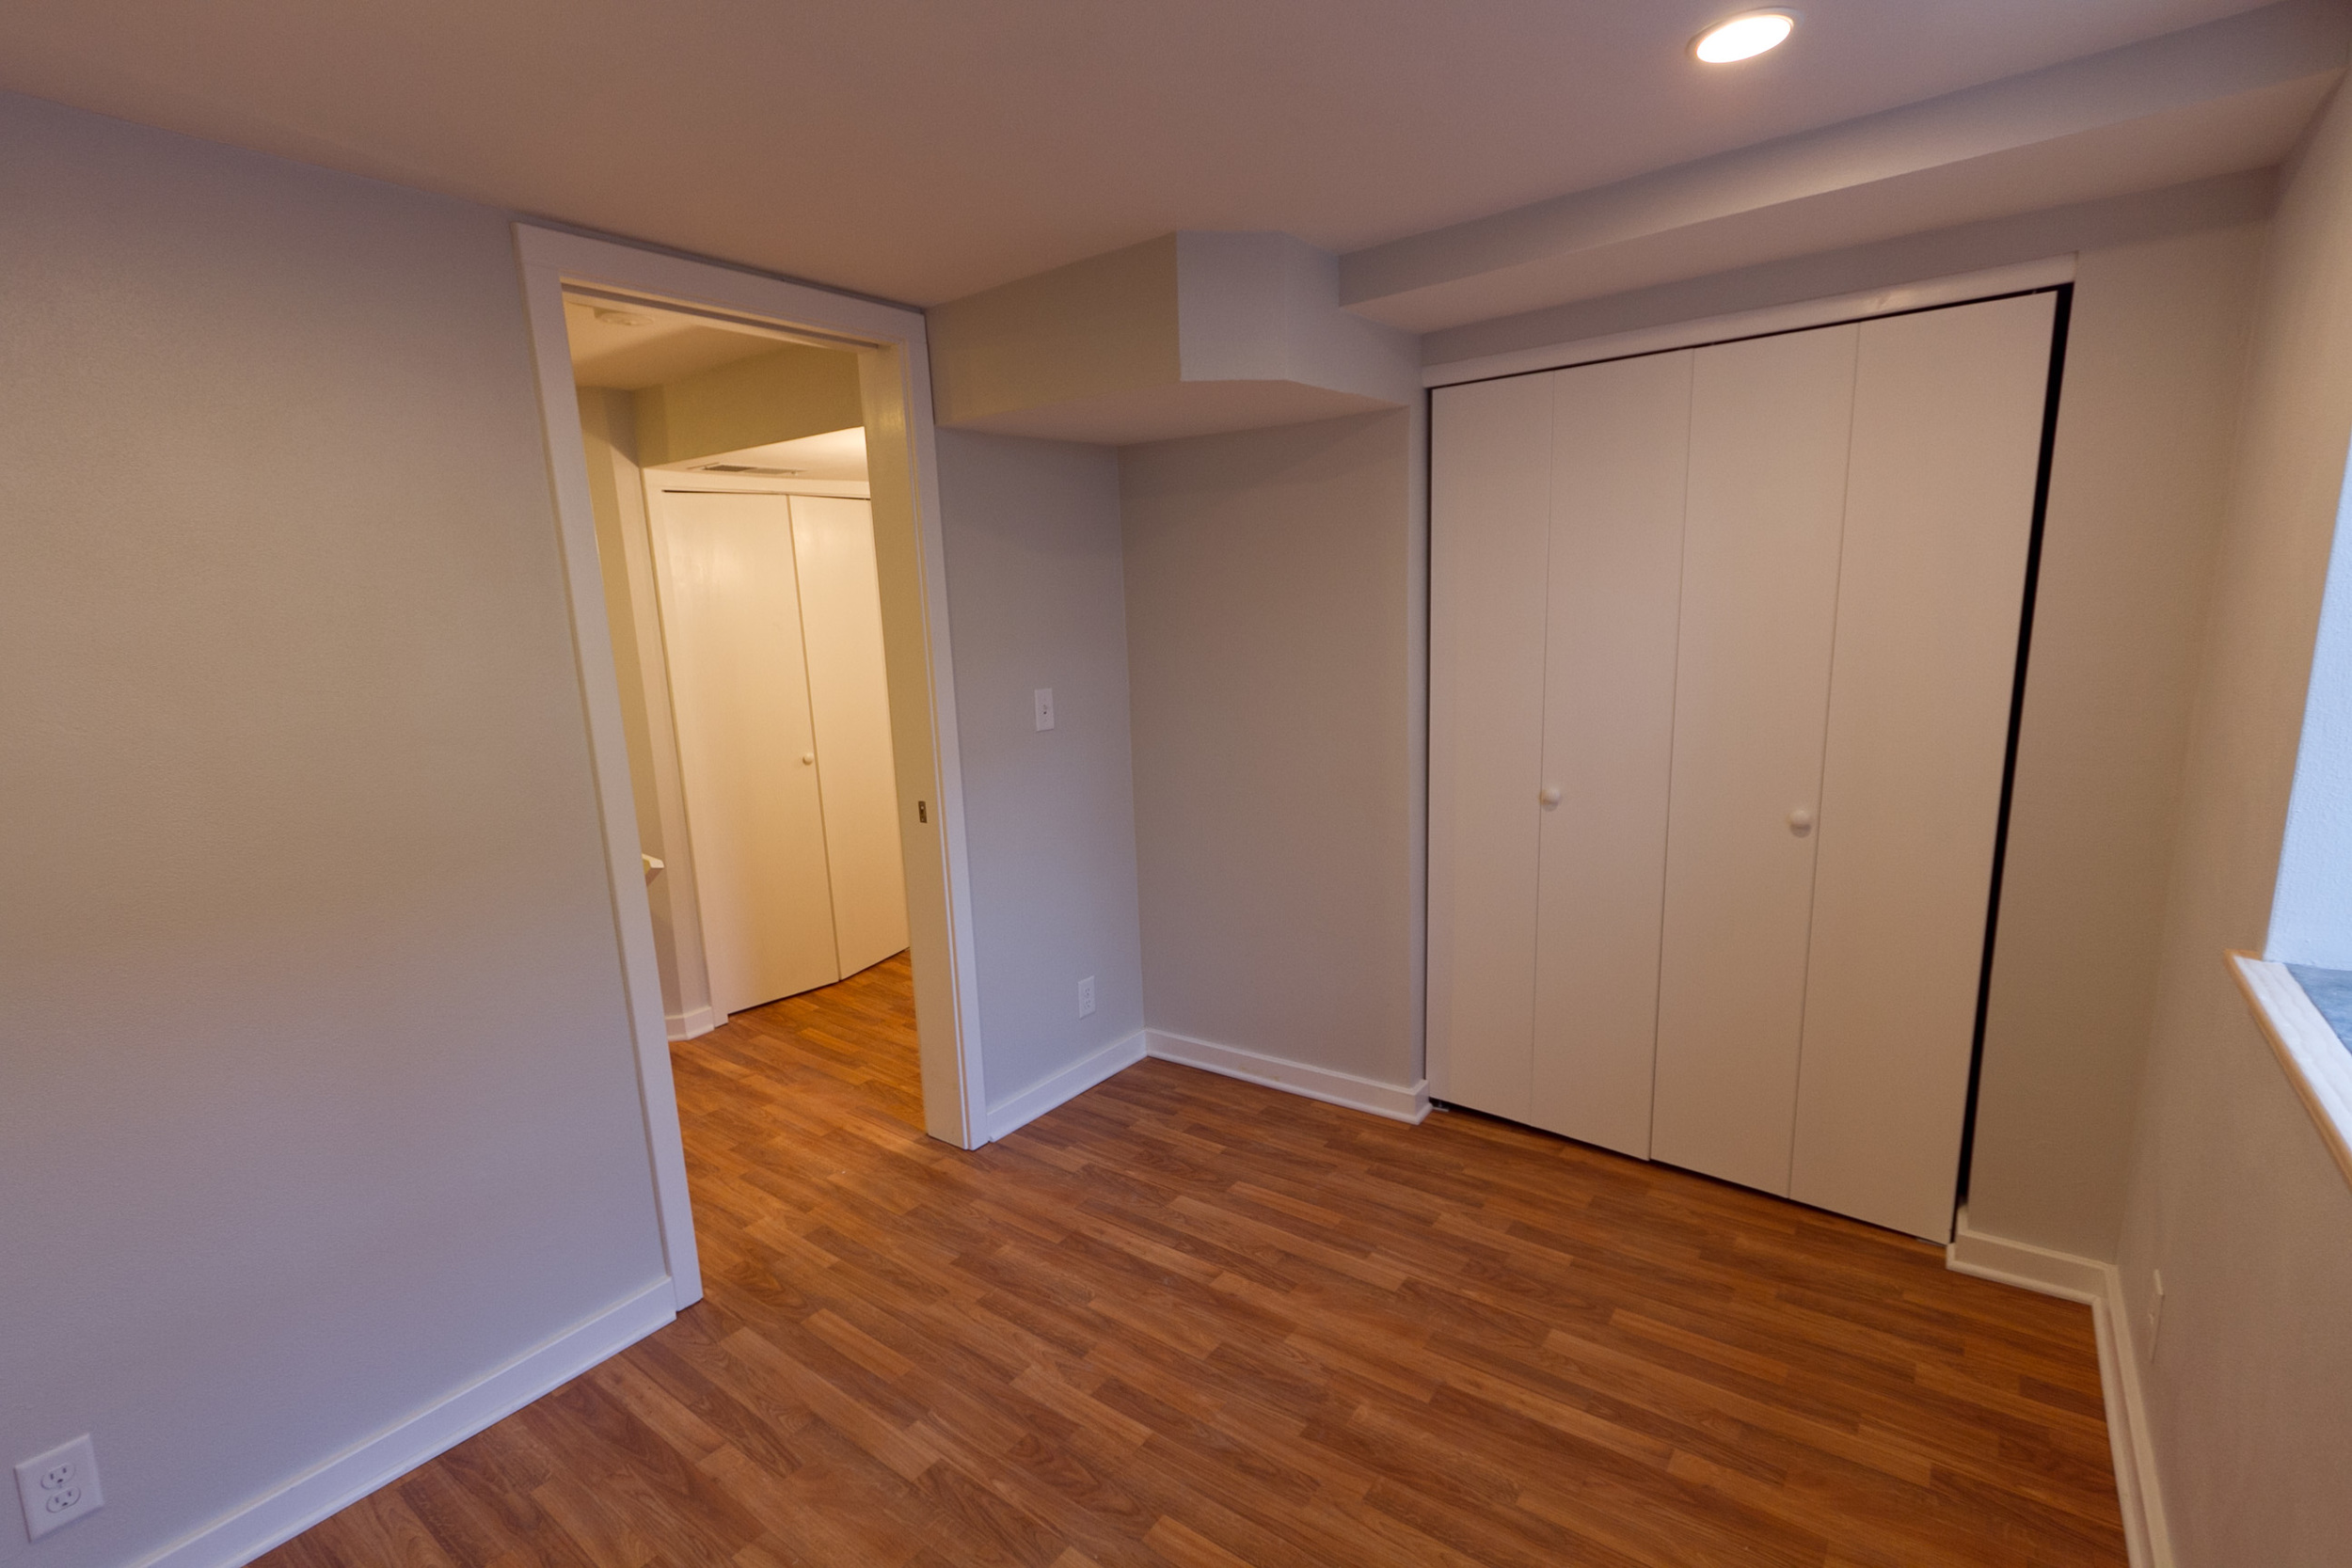
Pay attention to small details that make the most of the space. Our home has a small footprint, which means our basement isn't very big. To make the most of the available space, we worked with our contractor to design recessed shelving and shallow built-ins, and to use angled cuts and bulkheads that make the space feel as open as possible. A pocket door to the bedroom reduces wasted wall and floor space, and a removable stair railing allows us to move larger pieces of furniture (or a washing machine) up and down the stairs without any problem. Other small details -- like the cut-out cat "door" in a bottom stair riser that allows our cat to access her litter box in the unfinished part of the basement -- add nice finishing touches that increase the livability of the space.
Resist unnecessary splurges -- and re-use whatever possible. I loved a certain light fixture from a higher-end vintage lighting source -- but because this was our basement and not our main living level, we resisted the urge to splurge. Instead, we found vintage-inspired fixtures that we love at a local big-box store for a tiny fraction of the price. When redesigning the bathroom, we saved a bit of money by keeping the original toilet and pedestal sink -- they both worked, were the right color and shape, and fit with the rest of the room's design.
Schedule the work in the winter. Many contractors aren't as busy in the winter months, which means you may enjoy better communication and more attention to detail. Plus, some contractors may charge a little less in the winter, depending on where you live. Just be careful -- some projects are best done during warmer months, so be sure to do your homework before you start planning.
What We'd Do Differently Next Time
Let a professional do the painting. Our contractor gave us the option of doing all the painting -- the difference in price equaled a mortgage payment, so we opted to do it ourselves. We certainly don't mind painting -- in fact, the winter before, we painted the entire downstairs of our house. But this project was different. In our basement, every wall, ceiling, door, piece of trim, and each wooden built-in needed multiple coats. It took four weekends of hard work, when it would've taken our contractor's team four days. After five weeks of renovation, those extra weeks of painting almost doubled the amount of time we weren't able to use the space. Next time, for a project that requires extensive work, it might be worth the cost to have someone else do it well and do it quickly.
Pin down all the details before the project starts. We began the project with a few loose ends and undecided details -- like paint color choices, which light fixtures to buy, which door and bath hardware to use, etc. This meant I sometimes felt pressure to choose something quickly, instead of taking my time to choose what was best. In the end, I'm happy with everything we ended up with, but it would have been nice to avoid that unneeded stress. Next time, I'll work with the contractor to create a checklist of all the moving parts, so that as much as possible can be picked out before the workers arrive.